Was this page helpful?
Getting Started with GitHub
If your code is on GitHub, go to the SonarCloud product page and choose Sign up for new users, or Login for existing users, then select GitHub from the list of DevOps cloud platforms.


Welcome to SonarCloud
Once you have successfully logged in, you will see the SonarCloud welcome screen. Select Analyze your first projects > Import an organization from GitHub.


Set up your organization
Connect your GitHub organization with SonarCloud
After selecting Analyze new project, you will be presented with a step-by-step tutorial to install the Sonarcloud application on GitHub. This allows SonarCloud to access your GitHub organization or personal account. You can select specific repositories to be connected to SonarCloud or just select all and can always change this setting later.
Create your SonarCloud organization
SonarCloud is set up to mirror the way that code is organized in GitHub (and other repository providers):
- Each SonarCloud project corresponds one-to-one with a GitHub project that resides in its own GitHub repository.
- GitHub projects are grouped into GitHub organizations or personal accounts.
- Each SonarCloud organization corresponds one-to-one with a GitHub organization or personal account.
SonarCloud will suggest an Actions secret name and key for your SonarCloud organization. The key is unique across all organizations within SonarCloud. You can accept the suggestion or change it manually. The interface will prevent you from changing it to an already existing key.
SonarCloud does not support linking an organization to more than one DevOps platform. If you want to link to more than one, you will need to create a separate organization to link to each DevOps service.
Choose a plan
Next, you will be asked to choose a SonarCloud subscription plan. If all the repositories to be analyzed are public on GitHub, you can select the free plan. When using the free plan, your code and analysis results will be publicly accessible at sonarcloud.io/explore/projects.
If you want to analyze one or more private repositories then you need to select a paid plan. All paid plans offer a 14-day free trial period. Once the 14 days have elapsed, the cost is based on the number of lines of code analyzed.
A plan is always associated one-to-one with a SonarCloud organization and therefore with a single GitHub organization. If you want to onboard multiple GitHub organizations, you must sign up for a separate plan for each.
Once you have chosen a plan and selected Create Organization, your SonarCloud organization is created!
Set up your analysis
Import repositories
The next step is to import the projects (that is, individual Git repositories) that you want to analyze from your GitHub organization into your newly created SonarCloud organization. A corresponding, one-to-one SonarCloud project will be created for each imported repository.
SonarCloud will present a list of the repositories in your GitHub organization; choose the projects you want to import and select Set Up to get started.


The selected projects will be imported.
Choose your new code definition
The next step is to set the new code definition (NCD) for your project(s). The NCD is a mandatory step and it defines which part of your code is considered new code. This helps you to focus your attention on the most recent changes to your code and allows you to follow the Clean as You Code methodology.

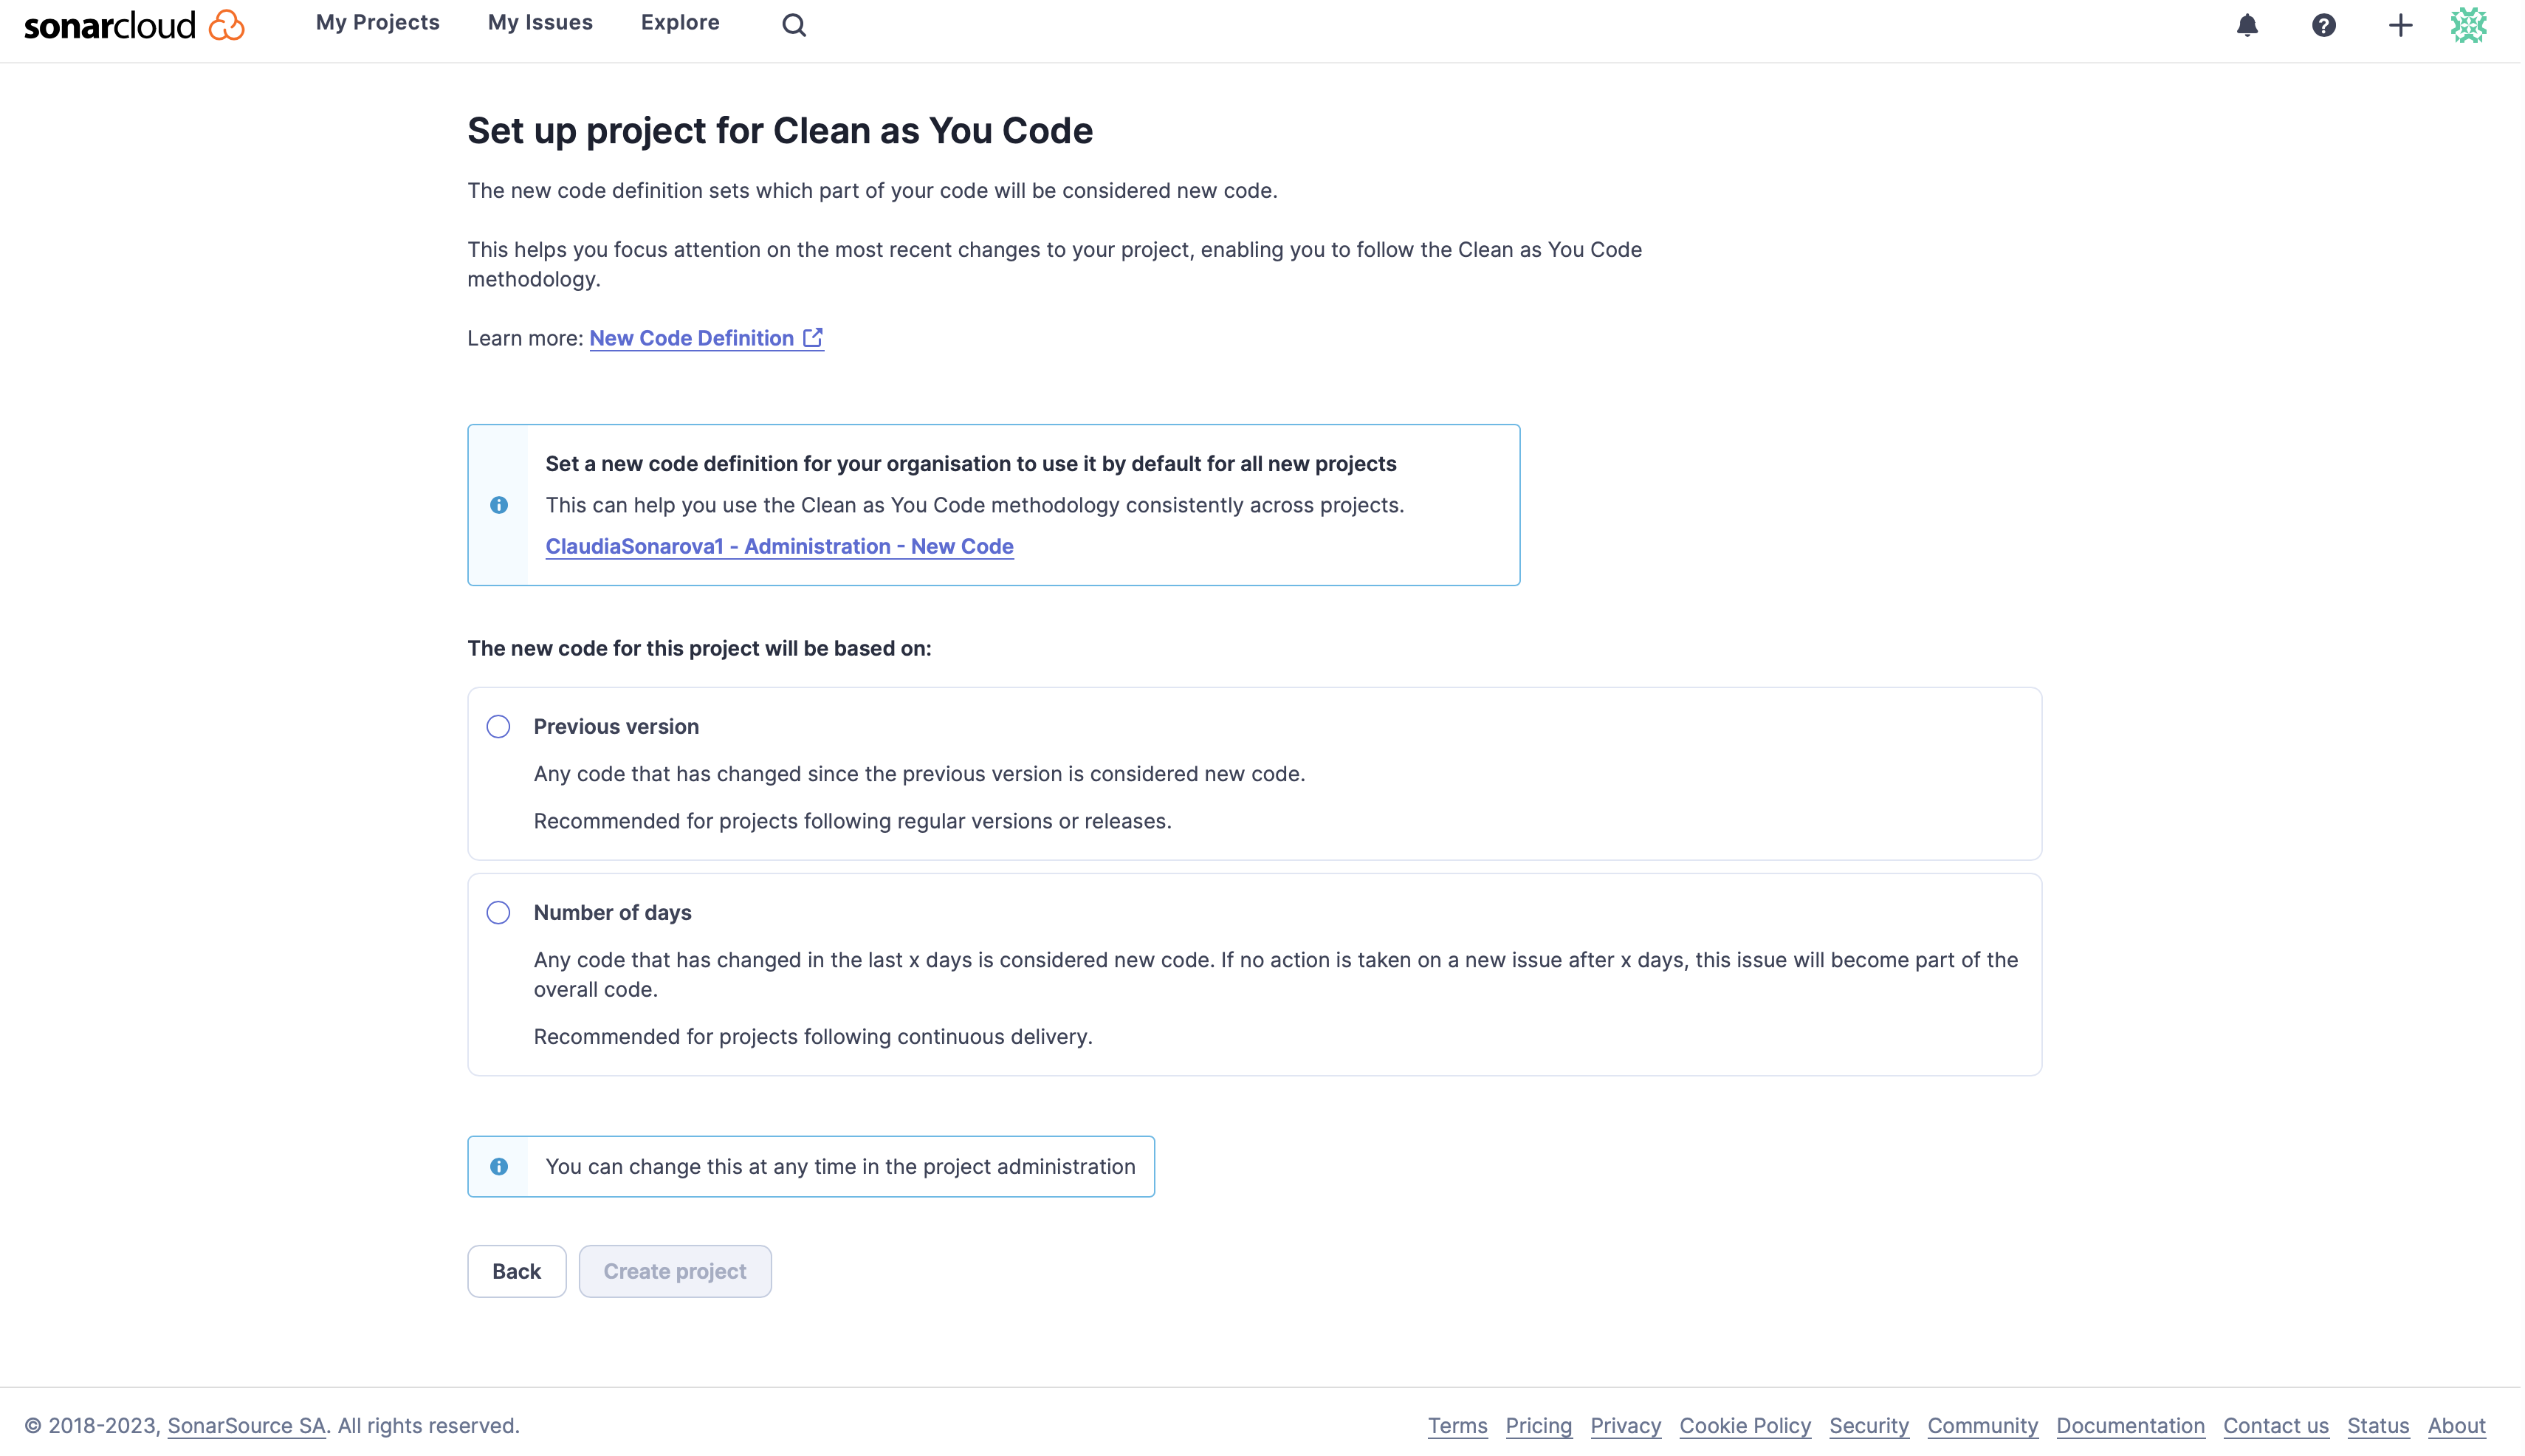
Note that the new code definition you apply at this stage will apply to all of the projects you have selected for analysis. You can change your new code definition later on a per-project basis.
To do this, go to Your Project > Administration > New Code.
For more information, check out the New code definition page.
Analysis methods
For GitHub repositories, there are two analysis methods available: Automatic analysis and CI-based analysis.
SonarCloud will first check your imported repository to see if it qualifies for automatic analysis. If it does, the analysis will start automatically and the results will appear shortly. Otherwise, proceed with CI-based analysis.
Automatic analysis
SonarCloud can automatically analyze your code simply by reading it from your GitHub repository, without the need to configure a CI-based analysis. After configuring SonarCloud with your GitHub organization, you will see a screen like this:


Note that automatic analysis is only available for GitHub repositories. It is available for most of the languages that SonarCloud supports, with the following exceptions:
Partial support
- C#
- Java
Not yet supported
- Objective-C
- PL/SQL
- TSQL
See the Automatic analysis page for more details.
CI-based analysis
If automatic analysis is not recommended for your project, you will need to set up a CI-based analysis. This will be the case, for example, with projects that use PL/SQL, TSQL or Objective-C.
In this scenario, scanning and analysis do not occur in SonarCloud itself (as they do with automatic analysis) but rather in your build environment, as part of your build process. This means you have to configure your build process to perform the analysis on each build and communicate the results to SonarCloud.
The first step is to select your build environment. SonarCloud will present this page:


Select the best CI option from the choices and SonarCloud will guide you through a tutorial on how to set all this up.
Your analysis results
Once it is complete, you can view the results of your first analysis. Please see the pages on GitHub Actions to integrate SonarCloud into your GitHub pipeline.
In addition, SonarCloud displays some result data directly in GitHub when finding issues that impact the security of your software. See the GitHub Code Scanning Alerts appendices for more details.
If you log into SonarCloud using an email address that you previously used to log into another DevOps platform, you need to be aware that SonarCloud will automatically associate your email address with the new DevOps platform.
For example, if you log in through GitHub and previously used Bitbucket Cloud, Bitbucket Cloud issues will no longer be assigned to your email address and you will stop receiving Bitbucket Cloud email notifications. If you then decide to switch back to Bitbucket Cloud, the GitHub email notifications will be discontinued.
© 2008-2024 SonarSource SA. All rights reserved. SONAR, SONARSOURCE, SONARLINT, SONARQUBE, SONARCLOUD, and CLEAN AS YOU CODE are trademarks of SonarSource SA.